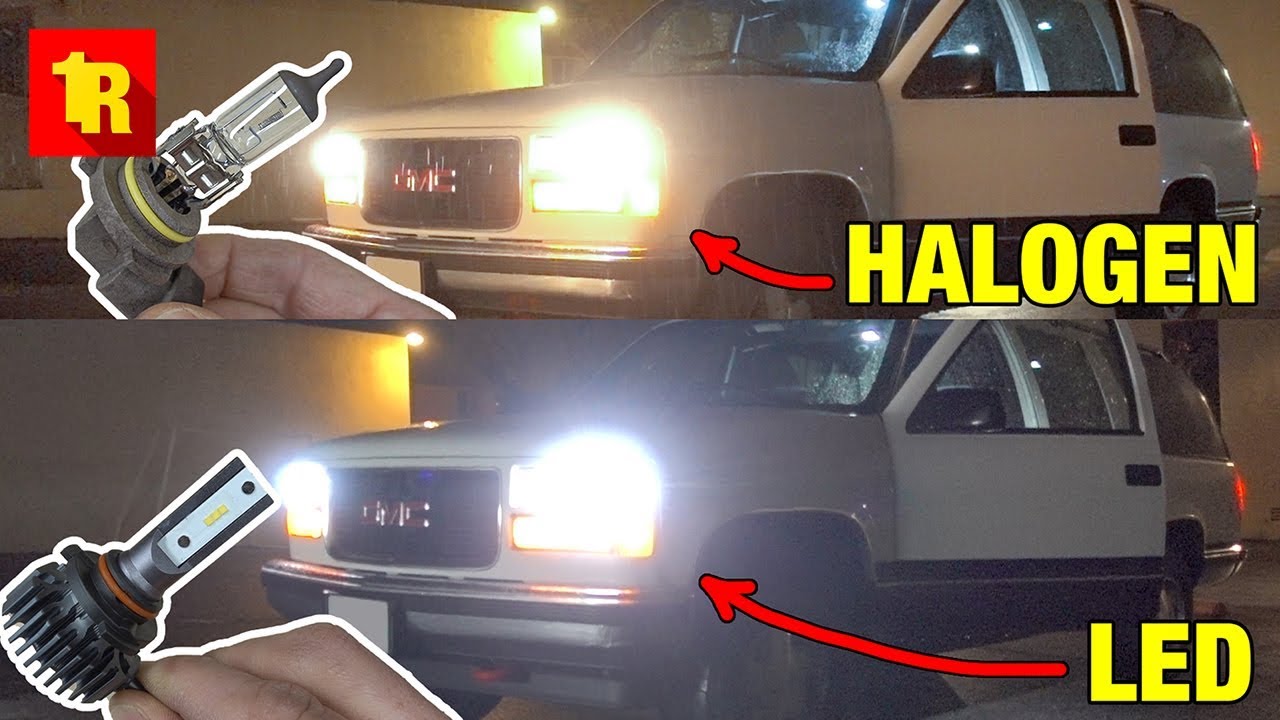
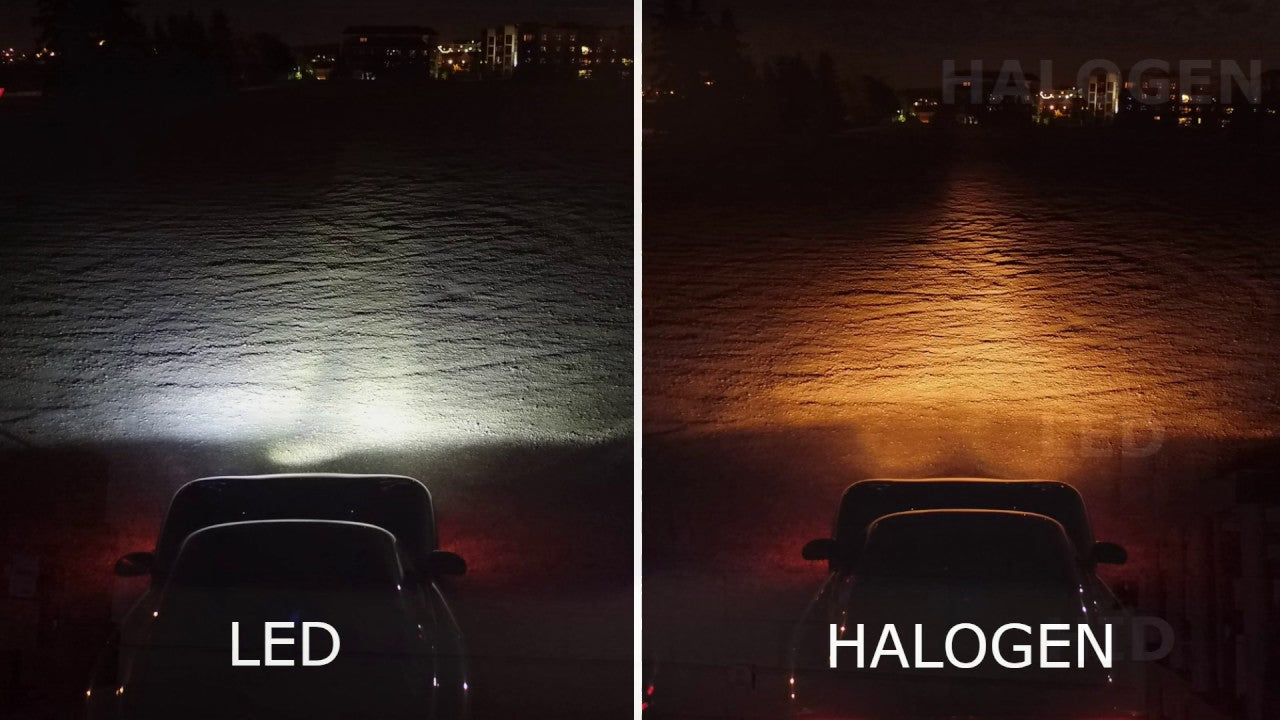
Headlight covers becoming dull or hazy over time is a common problem among car owners. There are various DIY solutions for dull headlights. One of the more popular fixes is using toothpaste on the headlight covers.
It’s one of those things that sound too good to be true. Could toothpaste really restore your headlight covers to their original brightness?
In a way, yes. However, you might have to adjust your expectations. Also, this solution doesn’t always work.
Read on to learn the truth about dull headlight covers and toothpaste fixes:
Check Out The CARIFEX® Premium LED Headlight Bulb Sets and the CARIFEX® Non-Flickering LED Headlight Sets and Elevate Your Driving Experience, Today!
Hazy Headlights Briefly Explained
Before we get to the nitty-gritty of toothpaste cleaning, it’s important to understand why your headlight covers look dull. Hazy headlights result from more than just dust and debris.
Everyday pollution on the road may create a film of grime over the plastic that covers headlamps. However, grime can be washed off. Hazy headlights will look dull no matter how much car wash detergent you use.
That’s because the discoloration is actually caused by oxidation. Car headlight covers are made from a type of plastic. When exposed to UV rays through sunlight, this material undergoes a chemical process. It makes the clear plastic appear cloudy.
Automakers apply a protective sealant on headlight covers to prevent oxidation. However, this coating doesn’t last very long. With use, it wears off, exposing the plastic underneath. That’s why your headlight covers get cloudy as the car gets older.
Yes, it’s possible to remove the residue of oxidation and restore the original appearance of the headlights. There are many ways to do this. Toothpaste is just one solution you can try at home.
Why Toothpaste?
Is there any special feature in toothpaste that allows it to restore yellowed out headlight covers? Yes, and no.
Toothpaste cannot actually reverse the oxidation process. But it contains a component that can help you scrub off the discoloration: abrasives.
You may not really think about it when you brush your teeth. But standard toothpaste comes with particles that rub against the enamel of teeth to remove plaque. This is a much gentler version of sanding. Toothpaste can effectively polish and buff dull headlights and restore brightness.
Therefore, toothpaste can really be useful for removing the oxidized layers of headlight covers. The mild abrasives scrub off discoloration without permanently scratching and damaging the plastic.
Safety and How It Works
The toothpaste fix for dull headlights it easy to apply. However, there are some crucial steps to take into account. Otherwise, you could end up permanently scratching the delicate surface of the headlights.
Word of caution: This method only works on plastic headlights, as described earlier. If you have dull glass headlights (typically found in older car models), you need to get it fixed at the mechanic.
It’s important to choose the right toothpaste for the job. What you need is regular, white toothpaste.
Avoid using gel toothpaste because it doesn’t work the same way. Most gel toothpaste varieties lack the abrasives you need (that’s why these products are clear). Stick to cheaper toothpaste as they work perfectly.
There are some toothpaste types that you definitely don’t want near your headlights. These are brands with microbeads. Certain toothpaste types include small plastic particles that would cause scratches on your headlights. Avoid this type as well.
Once you have the right toothpaste, how can you get it to work? The below section explains the right way to use toothpaste to brighten up hazy headlights.
Proper Steps to Follow When You Use Toothpaste on Headlight Covers
The process is relatively simple and straightforward. Here it is:
Step 1: Tape off the car
The toothpaste should only touch the headlight covers. If it gets onto the paint, the chemicals may scratch or discolor the layers.
To avoid a paint disaster, use tape to cover the area surrounding the headlights. This will stop you from accidentally scrubbing off the paint as you polish the headlights.
Step 2: Wash the headlight covers
Wash your car’s headlight covers as usual with car wash soap. You don’t need to wash the whole car, just the headlights.
After rinsing, use a microfiber cloth to dry the headlight covers. Don’t use a cloth that might leave lint on the surface.
Washing headlight covers is important because it removes layers of dirt and grime that contributes to discoloration. So don’t skip this step.
Step 3: Apply the toothpaste
Squeeze a dollop of toothpaste onto the middle of the headlight cover. It should be about the size of a chickpea or a dime.
Then use a microfiber cloth or a sponge to rub the toothpaste into the headlight covers. Gently polish in circular patterns. You can add more toothpaste if needed.
Polish as vigorously as you can. However, don’t press too hard because you might damage the headlights.
Step 4: Leave it on
Once you rub in the toothpaste, leave it on for two to three minutes.
Step 5: Rinse off
Use warm water to completely remove the toothpaste from the headlights. Warm water works better to get all the layers off. Don’t leave behind any toothpaste, as it would create a whitish film over your headlights.
Using a hose or a sprayer would help a great deal in getting all the toothpaste off. Once you are done, remove the tape around the headlights.
Step 6: Apply sealant
This step is crucial to keeping your headlights bright and clear throughout the year. The headlight covers would continue to get cloudy as long as the plastic is exposed. Applying sealant would reign in the oxidation and keep your headlights bright for longer.
You can buy UV sealant for vehicles at most auto shops. Even some gas stations that sell motor oil may have this product.
Follow the instructions in the sealant bottle to apply it properly. Usually, you just need to apply a single thin layer. This won’t take long. It’s advisable to wear gloves to prevent the chemicals from getting on your skin.
And that’s the last step. Your headlights should now look brighter than they used to.
Keep in mind that this treatment only works with oxidized headlight covers. In some scenarios, physical damage could have dulled their appearance. In that case, you will need to replace your headlight covers.
Washing your vehicle regularly can slow the process of dulling headlight covers. However, this doesn’t entirely prevent the process of oxidation. Once the sealant wears off, yellowing is quite inevitable.
What’s important is that you clean your headlight covers and apply the necessary sealant. Now your headlights are good to go for another year or so without discoloration issues.
Check Out The CARIFEX® Premium LED Headlight Bulb Sets and the CARIFEX® Non-Flickering LED Headlight Sets and Elevate Your Driving Experience, Today!


